We recently bought an outdoor timber setting for out on our deck, a simple process you would think, but there is more to it than meets the eye if you want to buy an outdoor timber setting here in Brisbane suitable for you, your budget, the room you have and also water supply so we found out.
First step in finding something suitable was finding the places that are close to us here on the Northside of Brisbane, pretty slim pickings unless you want the simple imported cheaper metal looking tables and chairs.
We decided we wanted timber, brown and probably middle of the price range, so a quality outdoor set that will outlast us and the kids would have to find a home for eventually.
We ended up finding a hub of outdoor furniture places at the Aspley Homemaker Centre, there is about three places there you can stroll through.
After going through all we settled on Outdoor Living as they had a great range and also what we were specifically looking for to fit the space we have and also, these guys were great for knowledge on the spot and also after purchase service too.
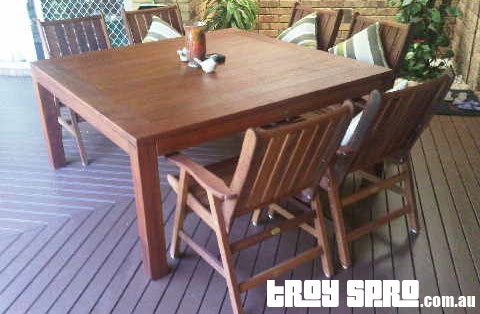
We decided on getting the square wooden table with eight chairs around it, it was a good choice for us as it fits the space perfectly, has enough chairs and room for entertaining and the timber matches our surrounds too.
The Catch.
While going through the purchasing we find out that these settings need to be bled and also then oil applied to them for them to be in top shape for many years to come, we agreed, purchased and organised delivery.
The bleeding of the outdoor timber setting is a process where you have to spray water on the furniture for about 3 to 4 hours until all the natural oils have gone out of the furniture, then you let them dry, assemble, apply the oil and enjoy.
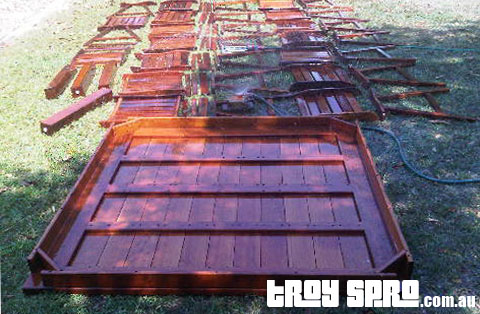
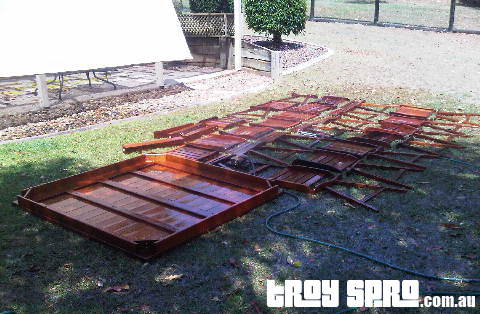
Here are the pictures of the table and chairs laid out ready for spraying with water, you have to have an ample water supply if you are using tank water like we were, it may cost you a fortune if you sit there for a few hours and use your normal hose water to spray the furniture.
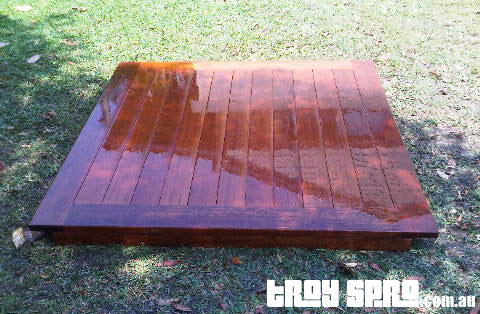
During this spray process you see all the natural oils being released, they bubble a bit too and you just keep on spraying off the residue, I cheated a bit when I wanted a bit of a break and put on two sprinklers to carry on with the job whilst I attended to stuff elsewhere.
Next was letting them dry for a few hours, you have to so you can apply the oil without trouble.
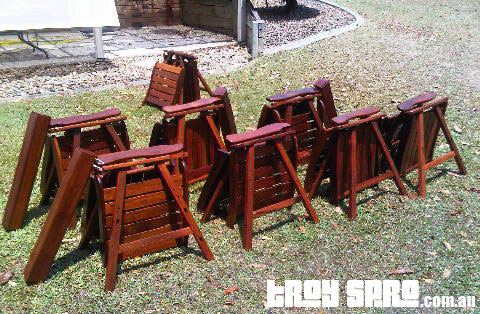
Following the drying for a few hours I then assembled all the chairs and the table, I must admit, I love flat pack stuff, it’s hours and hours out of the lives of husbands all over Australia that we will never get back, I personally think it’s a conspiracy of wive’s to get back at husband’s by buying flat pack furniture and toys for the rest of our lives….
I applied the furniture oil next after all the chairs and table had dried.
The oil protects the furniture from marking etc from glasses and other nasty’s that might leave rings or marks on the table, so although a long process it definitely is worth it in the end and you only have to re apply every 6 months or so to keep your outdoor setting looking fresh and protected.
You just need an old tee shirt or clean rag to apply the oil, take the cap off, hold the rag over the hole and turn upside down, when you peel the rag away the oil will be there on the rag, but not in a big amount, then apply to the furniture in segments.
I found this was the best way to apply the oil as you don’t want to have the oil too thick in some places and not in others, by doing it this way it maybe a little slower but you get a great even finish.
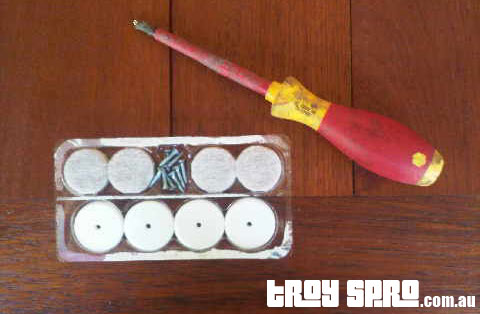
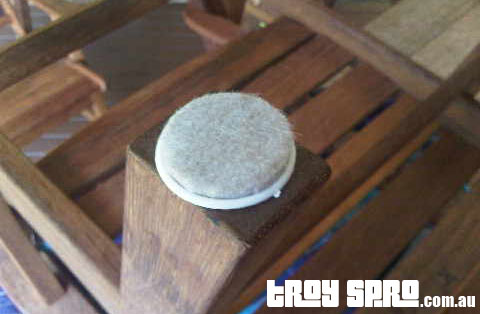
I also attached feet to the chairs so not to scratch the deck every time someone pulled out a chair, these can be bought down at the local hardware store for around the five dollar mark and you only need a screw driver to attach them, I’d really suggest doing this as in time your deck top will be so scratched from the chairs moving around, prevention is better than cure in this case.
Next was attaching the anti scratch feet to the chairs.
And finally, flip them over move the chairs around to a suitable position, throw on a few birds and a candle and 8 hours later you are ready to enjoy!
So there you have it, after many hours we finally got the timber outdoor setting we wanted.
