Now you think if you had a problem with the top of your fireplace or flue and like us and you had to replace the chimney cowl on your fireplace that it would be a relatively easy thing to do and also to track down the part, not so here in Brisbane without a little bit of work and planning.
It’s getting a bit colder now and so the chimney top replacement has been on the cards for a while and on my to do list, I’m not sure what happened to it at all but there was a couple of the arms of the cowl that had come off.
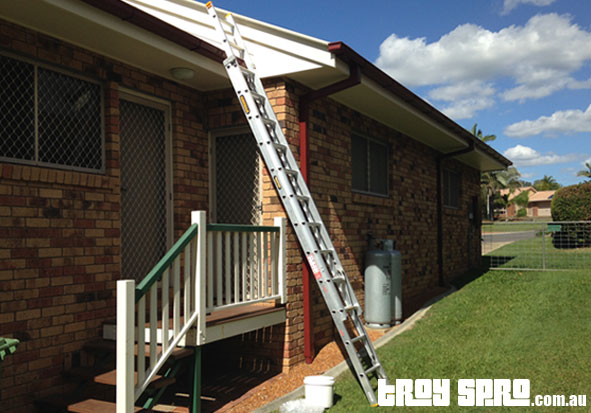
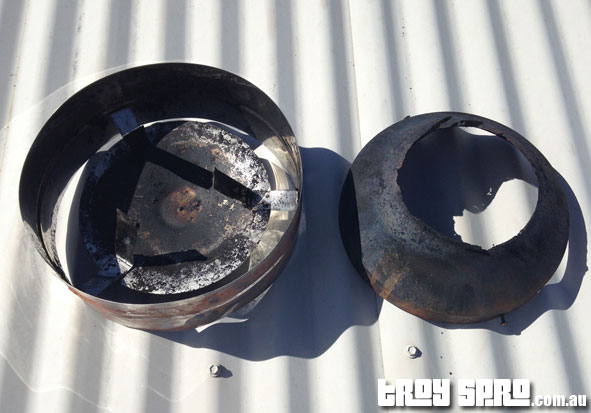
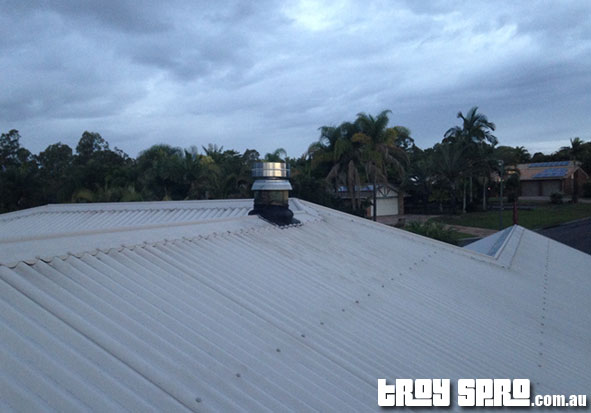
I got up on the roof to have a look using my brand new extension ladder, I found that the last arm on the cowl was only hanging on with one more weld spot, so the choice was try and fix it or find a replacement for it.
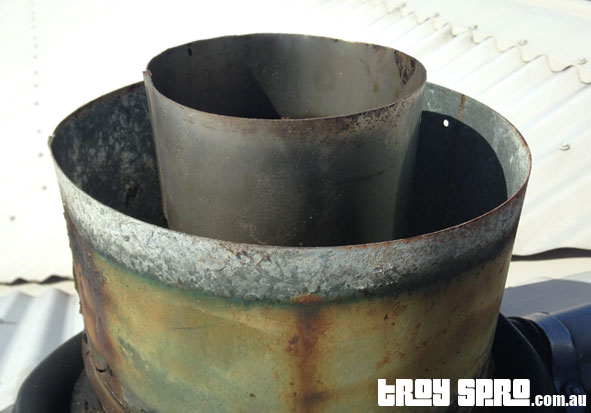
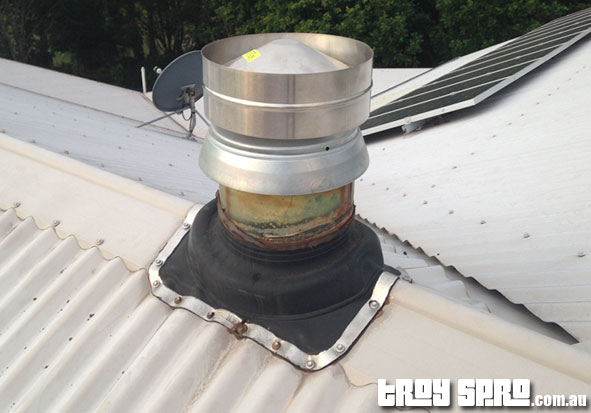
As it is stainless steel and also the base had a fair bit of rust I couldn’t fix it at all as the arms on the cap would probably break again, I haven’t got a welder and also the base was very much rusted as you can see I the pictures.
So, I had to find a new cowl for the chimney top.
This lead me to Googling over many nights, I was calling this chimney part many things, chimney top, chimney cap, flue top and more and found out that the most used and correct name is “Cowl” which has been used for many centuries, the name comes from the resemblance to the garments worn by monks through the ages.
After finally finding out what names the top of the chimney goes under it was a mission to find someone in Brisbane that stocks one or says they stock one on their website, there was one site that had an address in Caboolture which is just down the road from Narangba but when I visited them, they had gone but still had the address on their site, frustrating indeed.
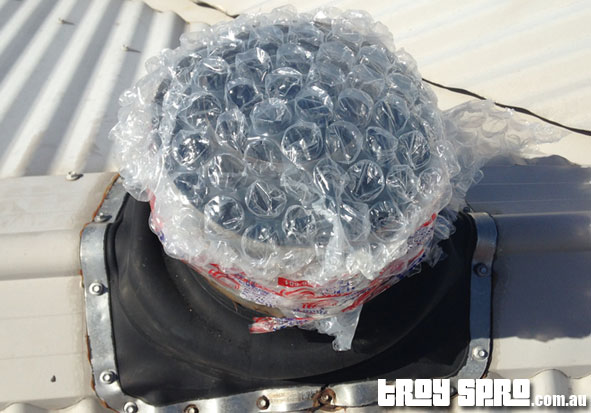
I continued looking and in the meantime got up again onto the roof, pulled off the old cowl and put plastic over the flue to protect it, just in case there was some rain while I had it off or some nasty bugs, wasps or birds decided it would be a good place to make a nest quickly.
Most of the websites online that sell cowls or fireplace accessories are out of Brisbane, most of the Brisbane based businesses that stock fireplaces and also fireplace accessories don’t advertise the fact they have cowls at all which I found strange as I thought over time with an aging city these would be in demand either with chimney sweeps and cleaners or general public like me.
Also with quite a few variations in chimney cowls I didn’t really feel comfortable buying one online without comparing what I have with what I was purchasing, just to make sure it fits and also it is similar in size and how it works etc.
I had a look at Bunnings on one of my many trips as and asked them if they sold cowls and they only sell full flue kits, so that was a dead end, but in that trip the man I spoke too said to go and see Barbeques Galore in Morayfield as they stock full fire places and all their accessories as well as the obvious barbeques too.
So, one phone call to them and they had them in stock, so I was on my way after work that day to make my first cowl purchase.
I took the old one with me as there are a few different sizes around, I think ours is the smallest size cowl you can get.
So I bought the chimney cowl and got a chimney cleaner sweep too while I was at it there, so if you need to replace your chimney cowl, chimney top, chimney cap or whatever you call it on your fireplace, I suggest, if you don’t want to waste time like I did, call your local Barbeques Galore if you have one.
You can get my local one’s details here on my Companies and Trades page.
Next for me was cleaning the chimney flue and then putting the new cowl onto the flue.
First I took started to clean the fireplace out and prepping it for cleaning the flue.
My fireplace is quite old and so the parts are fairly well fixed in, you can take the baffle out to clean the flue from the bottom if needed, I couldn’t for the life of me get the baffle out so I just put it on an angle so the soot would run off it and down into the fireplace so I could scoop it out when I had finished cleaning.
I also found a couple of the clay like wasp nests on top of the baffle, I’ll have to keep an eye out for this during the summer months or next time I clean as I might open the door of the fireplace and swarm might come flying out, something to bear in mind anyway.
Next it was time get back onto the roof to clean the flue and put the new cowl on.
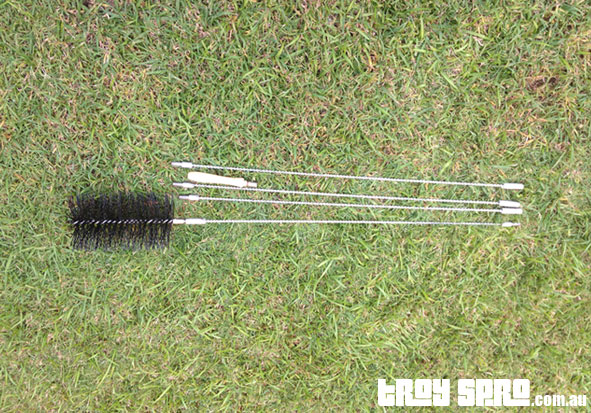
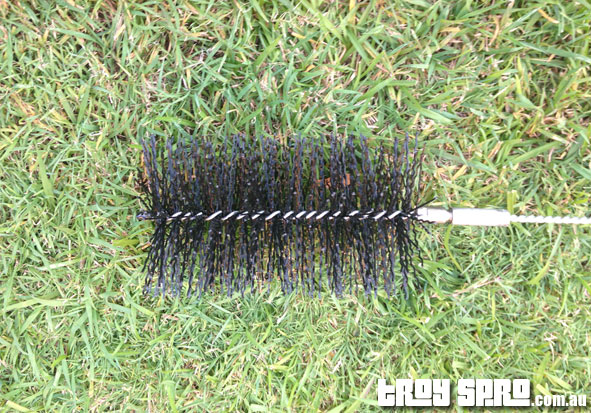
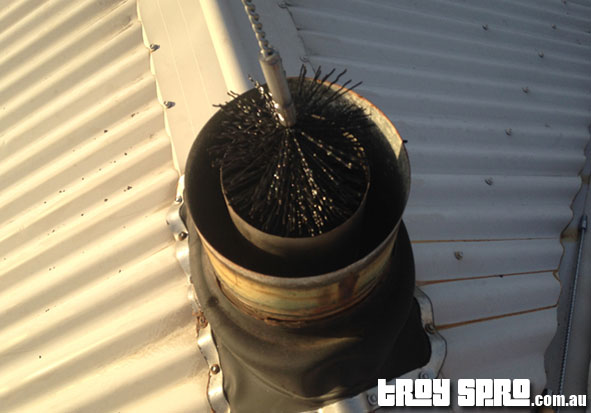
I took the plastic off and then put the first section of the flue brush down the flue, the brush is quite hard so I had to push it through and then when you pull back on it the brushes reverse and then it is easier to pull out.
I then did this for all the sections of the flue cleaner brush, so I added another section on, pushed it down and then pulled it back up and repeated a few times on each until all four sections were attached and the brush was hitting the bottom of the flue.
I also had taken my torch up to the top to have a look down to make sure the flue was clean, make sure you don’t drop your torch down the flue either if you are having a look, I didn’t, but I was aware if I dropped it, it would be a pain getting it out.
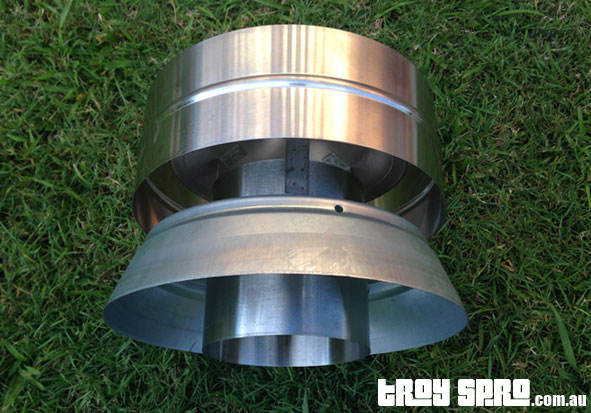
Next I fitted the new cowl to the top of the flue, pushed down on it and it fitted very snuggly.
The new cowl was slightly different and has a different base on it, this means it site a bit higher than the old one, so it doesn’t sit flush on the flue casing and there is a gap there for me to figure out a solution on how to block this gap up just so insects and other nasties don’t think it is a good idea to make their nests in there.
Also this meant the fixing holes don’t line up at all and so I had to drill some more in the cowl to suit and then this led to the next problem to solve, the screws that fixed the old cowl to the flue casing were too small and as this cowl sits higher I would have to fix it properly with bigger thread size screws, of course I don’t have these, so another excuse for me and the squids to go to Bunnings to get some.
So I just put new screws in it temporarily, it still holds it on ok but I want to make sure it is on tight just in case we get a big storm so it definitely won’t blow off at all or if a larger bird decides to land on it, it won’t end up crooked or fall off.
So that was it for the roof for now, job done except for the small gap, the fixing screws and also a bit of silicon needed for the aging cowl casing where it meets the roof rubber seal.
I went down to complete the last part of the job, cleaning all the soot out of the fireplace, there was a fair amount of it too, enough to fill a 3kg protein powder bucket to the top, so I was glad I decided to buy a flue cleaner brush and do it at the same time as there may have been some trouble later on into winter.
I put the baffle back into place after cleaning and shut the fireplace door and spread the ash etc onto the garden down the back.
So all that is left to do to complete the task to replace the cowl on our fireplace is the new fixing screws for the cowl, put new silicon on the flue casing, give the fireplace iron a clean on the outside and lastly get the paper, kindling and firewood ready for the first really cold night or morning that is sure to be coming.
Although it doesn’t get too cold here in Brisbane it is cold enough to have the fire going some nights definitely, it hasn’t hit the right temperature as yet, but it is getting close, bring on that first light of the fire for winter.
And there you have it, not long to go to finish my latest house maintenance learning adventure to replace the cowl on the fireplace on our house here in Brisbane.
